So as most of you know, I recently tried to create a video tutorial for you guys showing you how to do my much requested messy curls. Well, my iMovie didn’t want to play along so I had to recreate a picture tutorial – in reality, you will be able to get through this post much quicker than the video. I am also considering doing to do Facebook live tutorial’s once a week on 5 minute tutorials since there is no editing involved, let me know if you guys are interested! If so, what do you want to see?
For this look I start off with clean product free hair, unless there is any sort of thickening agent you like to put in your hair. Other than that – leave it squeaky clean. It will hold your style much better if you do not have any smoothing oils or serums in it.
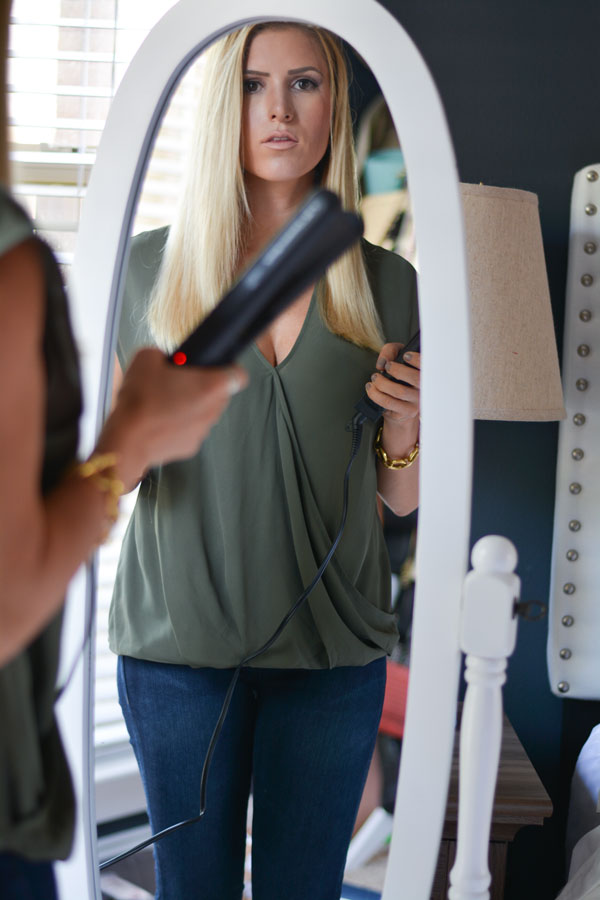
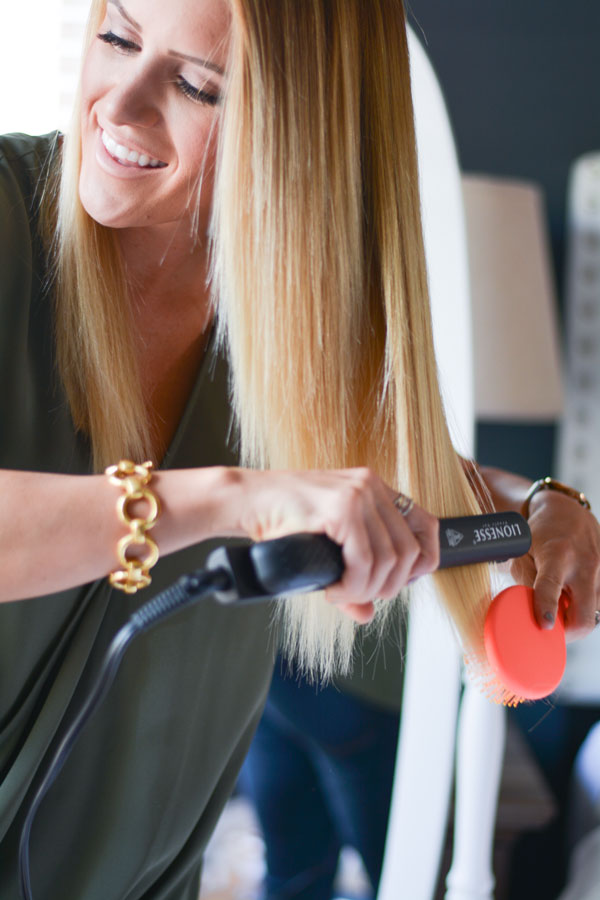
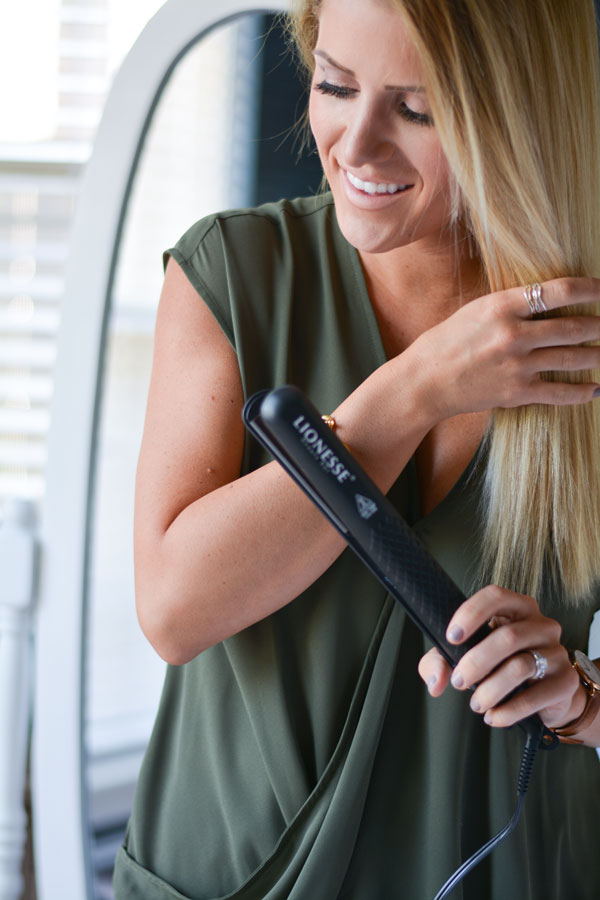
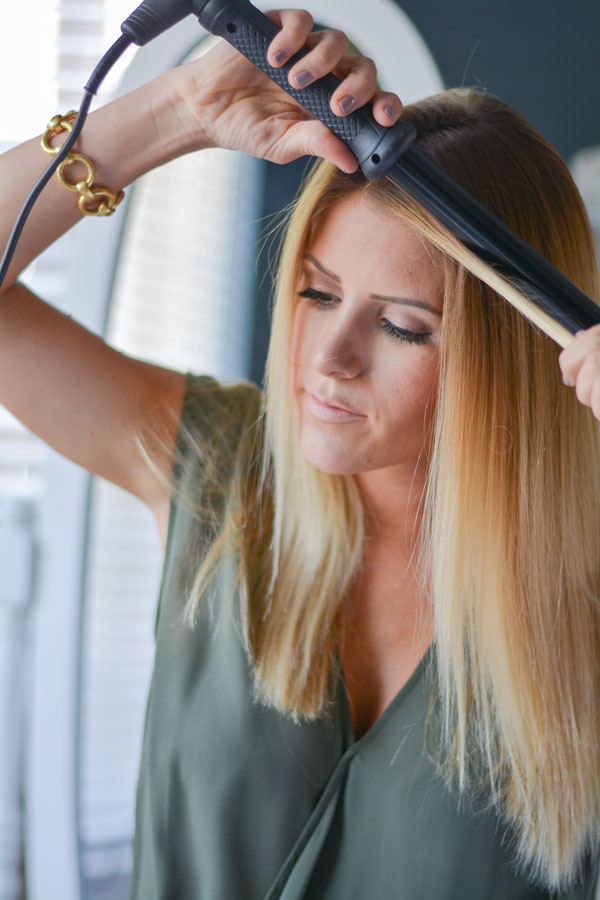
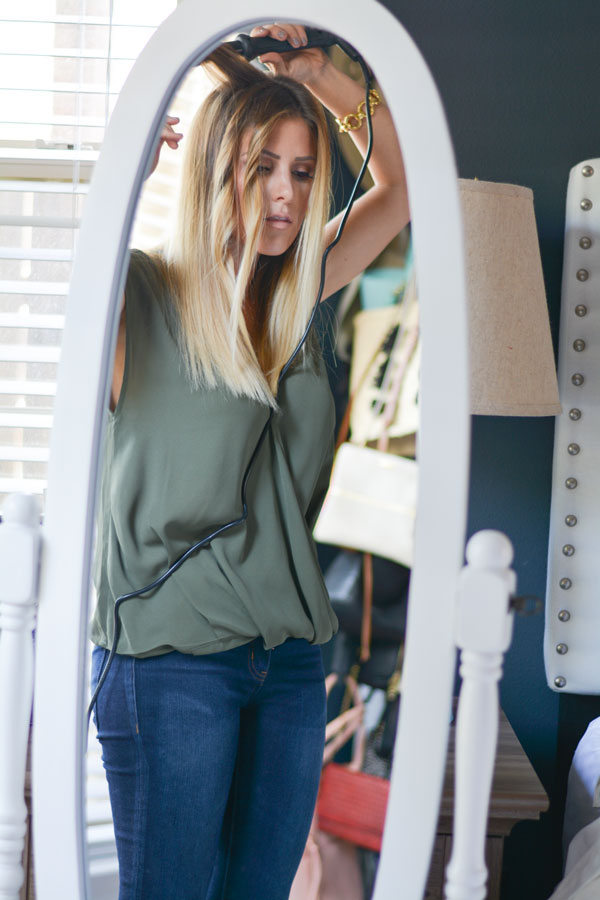
Start by flat ironing your hair – focusing on your ends. I do flat iron up to my roots around my ears and neck line where the humidity seems to like to attack my hair but other than that I avoid my roots to keep from removing volume.
Tip: If you have naturally frizzy hair or are just one of those girls that gets flat iron crazy and want to go up to your roots, flip your head upside down and flatiron. Doing this helps you to avoid pulling your hair down causing flat hair. Keep your head upside down after flat ironing until the hair is cool to touch – letting it set, to keep that volume in there!
I use the Lionesse flat iron for several reasons. First one being it is dual voltage. You guys remember when I went to Italy and completely fried my favorite curling iron? Yeah – that won’t happen again!! I love that the temp ranges from 180-450 degrees fahrenheit so that you can adjust it to your hair type. For my hair I keep it right around 400! It is only 1.25 inches making it easy to flat iron around your hairline and ears and has a super long 4ft swivel cord allowing me to move around the bathroom as needed.
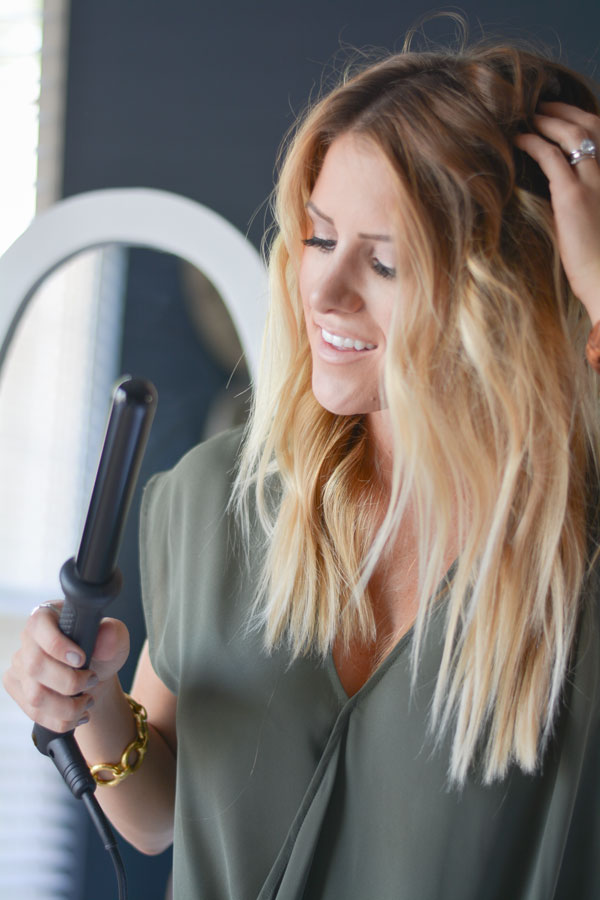
For my curls I take about one inch sections give or take (depending on the thickness of your hair). Start right at the root curl back away from your face and stop with about 3/4 inches left at the ends. The straight ends gives you the ‘piecy’ and messy effect that I like to go for. I do not have any sectioning or method to my madness of curls. I find the messier the better!
For my curls I use the Lionesse 3/4″ curling iron. I chose the smaller curling iron because I can easily control how tight or loose I want my curls by how closely I wrap the hair along the wand. If you want looser curls leave more space between your hair wraps. And as well – this one is also dual voltage – guess I need to plan another trip to Europe right? haha
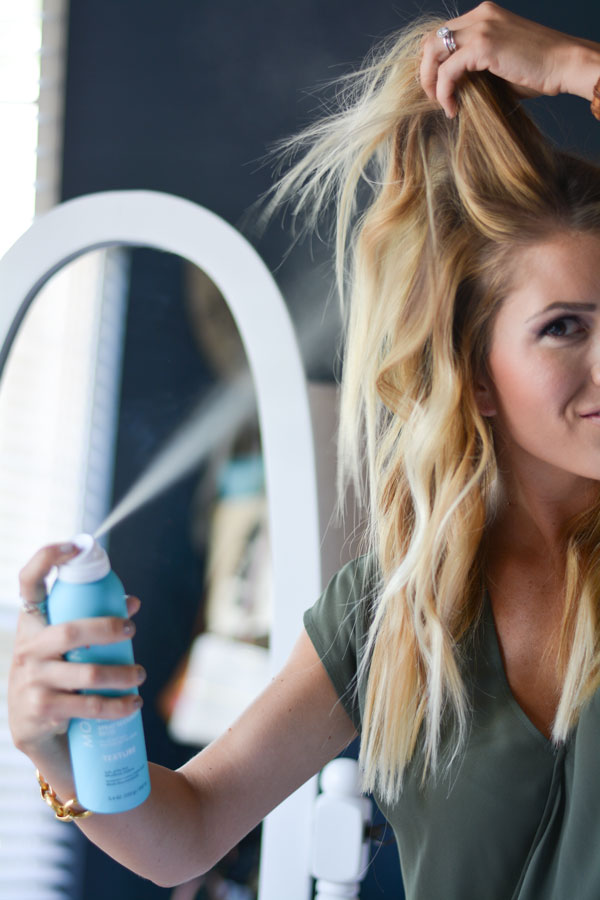
Once you are done, finish off with a dry shampoo of your choice. I first spray at my roots for some extra volume and then spray through out my ends to give them a crunchier and bouncier effect.
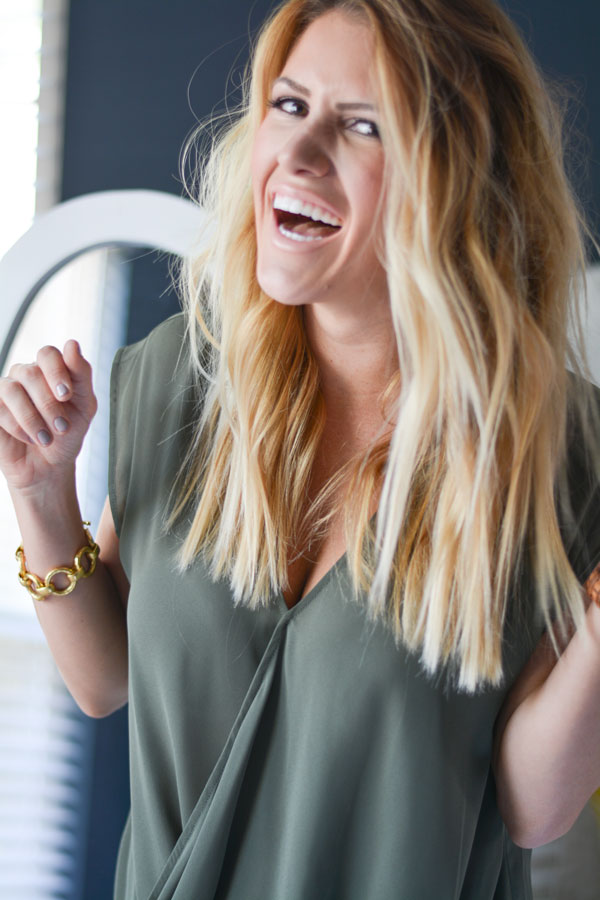
Hope this helps you guys get the look you are wanting and please let me know if you have any questions!! I am always happy to help!!
This post was brought to you by Shopping Links. All options are 100% my own.
 Black Friday Sales Guide 2024
 Game Day Cheese Ball Recipe + Fall Outfits
 Cyber Week Sales Guide 2023
 Why I Drink Warm Mineral Lemon Water Every Morning